

At Streamlabs, our mission is to empower streamers with the tools they need to create seamless and engaging live streaming experiences. We’re proud to support your streaming journey across multiple platforms, and Facebook is no exception. With Streamlabs, you can connect to your Facebook audience effortlessly, using advanced customization features to elevate your streams.
Whether you’re game streaming, hosting a live Q&A, or sharing personal milestones, here’s how you can start streaming to Facebook with Streamlabs Desktop, Plugin for OBS, or Talk Studio in just a few simple steps.
Jump Ahead:
- How to Live Stream on Facebook from Streamlabs Desktop
- How to Live Stream on Facebook from OBS with the Streamlabs Plugin
- How to Live Stream on Facebook from Your Browser with Talk Studio
- Why Stream to Facebook?
Facebook Live Streaming Requirements
Account Age Requirement: Your Facebook account must be at least 60 days old to use the Facebook Live feature.
Follower Requirement for Pages and Professional Profiles: For creators and businesses using Pages or professional mode for profiles, you must have at least 100 followers to live stream on Facebook.
Read more about Facebook’s live streaming requirements here.
How to Live Stream on Facebook from Streamlabs Desktop
Step 1: Download and Install Streamlabs Desktop
If you haven’t already, download and install Streamlabs Desktop, which allows you to customize your stream with overlays, alerts, widgets and more while managing your live stream setup easily.
Once installed, launch the program and complete the initial onboarding process to get started. You can learn more about setting up Streamlabs Desktop in this guide.
Step 2: Create a Streamlabs ID (Optional)
A Streamlabs ID gives you access to all our creator tools, such as Streamlabs Desktop, Plugin for OBS, Console and more via one login. It’s not required for streaming to Facebook but can be a valuable addition to your streaming toolkit. You can create your Streamlabs ID here.
Step 3: Connect Your Facebook Account to Streamlabs Desktop
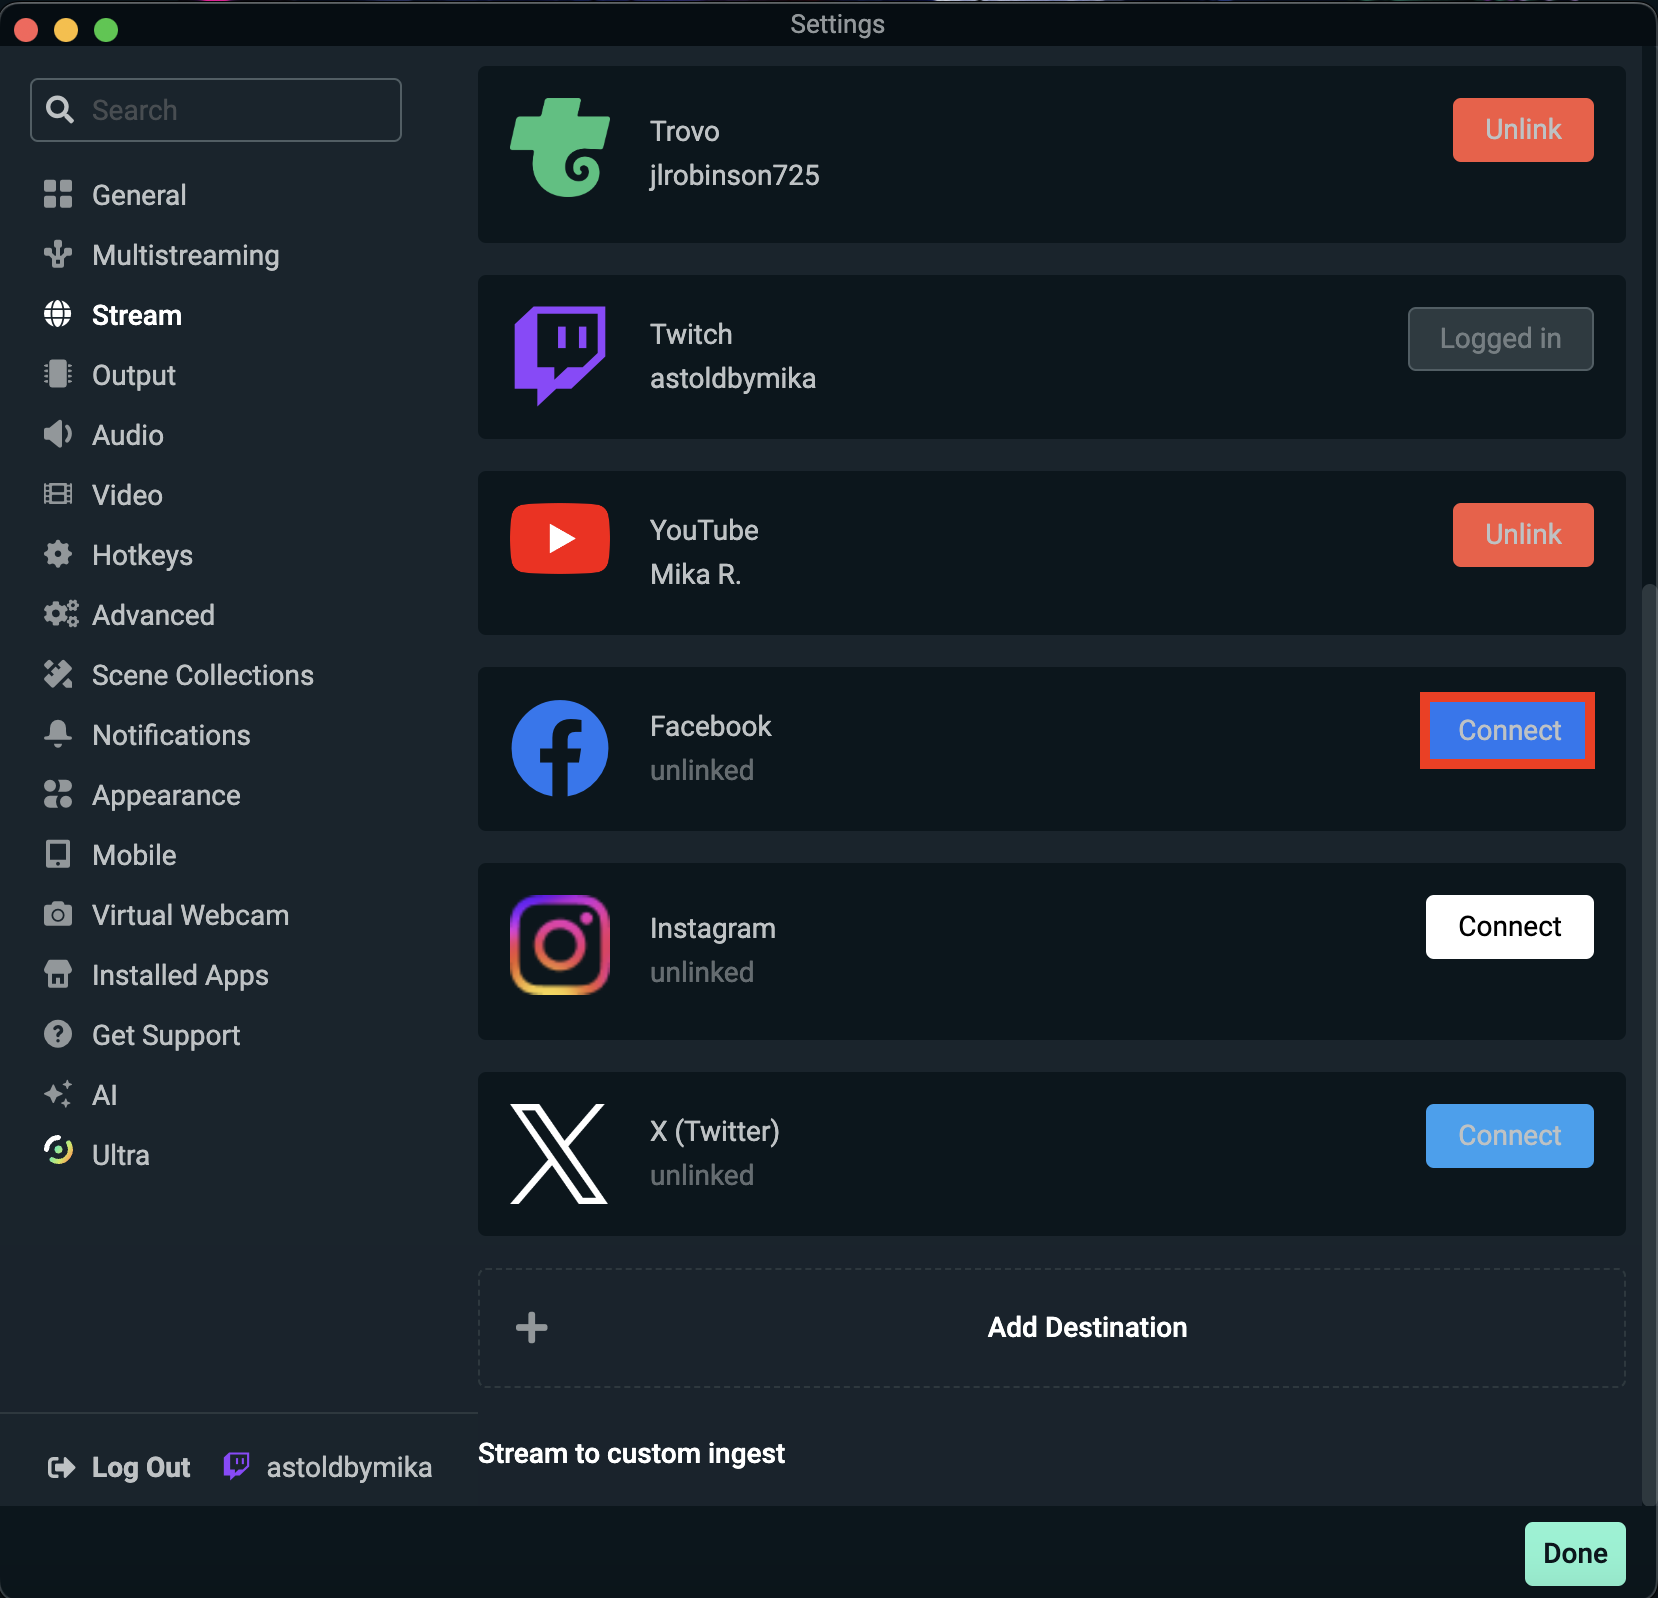
Launch Streamlabs Desktop and navigate to Settings > Stream. Click Connect to link your Facebook account. You’ll be redirected to your browser to log in to Facebook and grant Streamlabs the necessary permissions.
Once completed, return to Streamlabs Desktop to finalize the connection.
Step 4: Customize Your Stream Setup
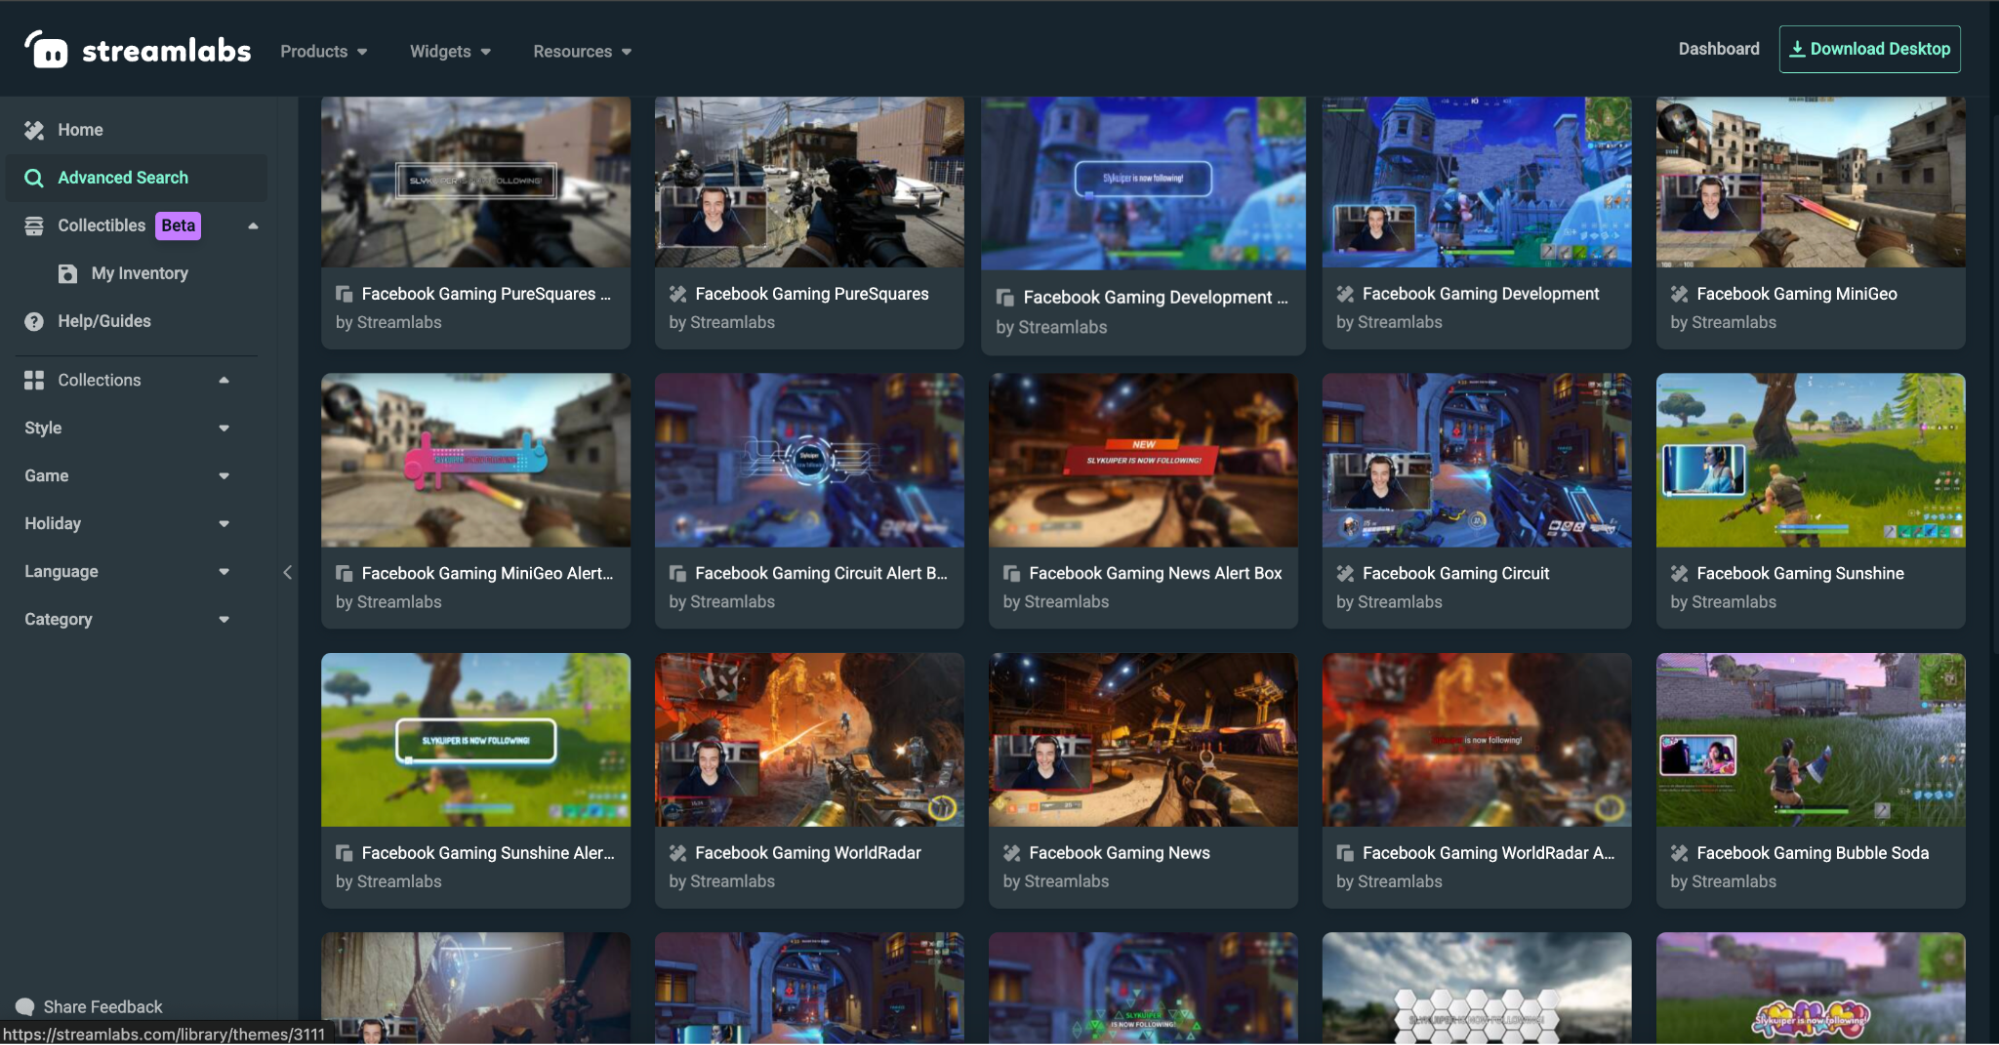
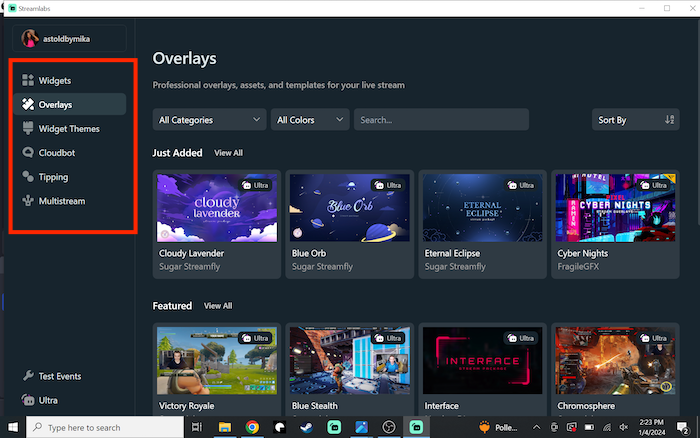
There are hundreds of beautifully hand-crafted overlay themes available for free and thousands available with Ultra. Themes will come with a stream starting soon, a live scene, a be right back scene, and a stream ending scene and most include matching alert and widget themes. There are also over 30 free Facebook-specific overlay themes available in the Streamlabs overlay library. These come with a banner graphic so that you can upload a cover photo to your profile page that is consistent with the theme of your live stream.
Personalize your stream to match your brand or theme using Streamlabs Desktop’s customization features such as:
- Stream Overlays: Access thousands of pre-made overlay designs from the Streamlabs Overlay Library, both free and premium (the latter exclusively for Streamlabs Ultra subscribers).
- Alerts: Add notifications for new followers, donations, and more to engage your audience while live streaming.
- Widgets: Enhance interactivity with features like chat boxes and donation goal boxes.
Explore our overlay library guide and alert setup guide for more details.
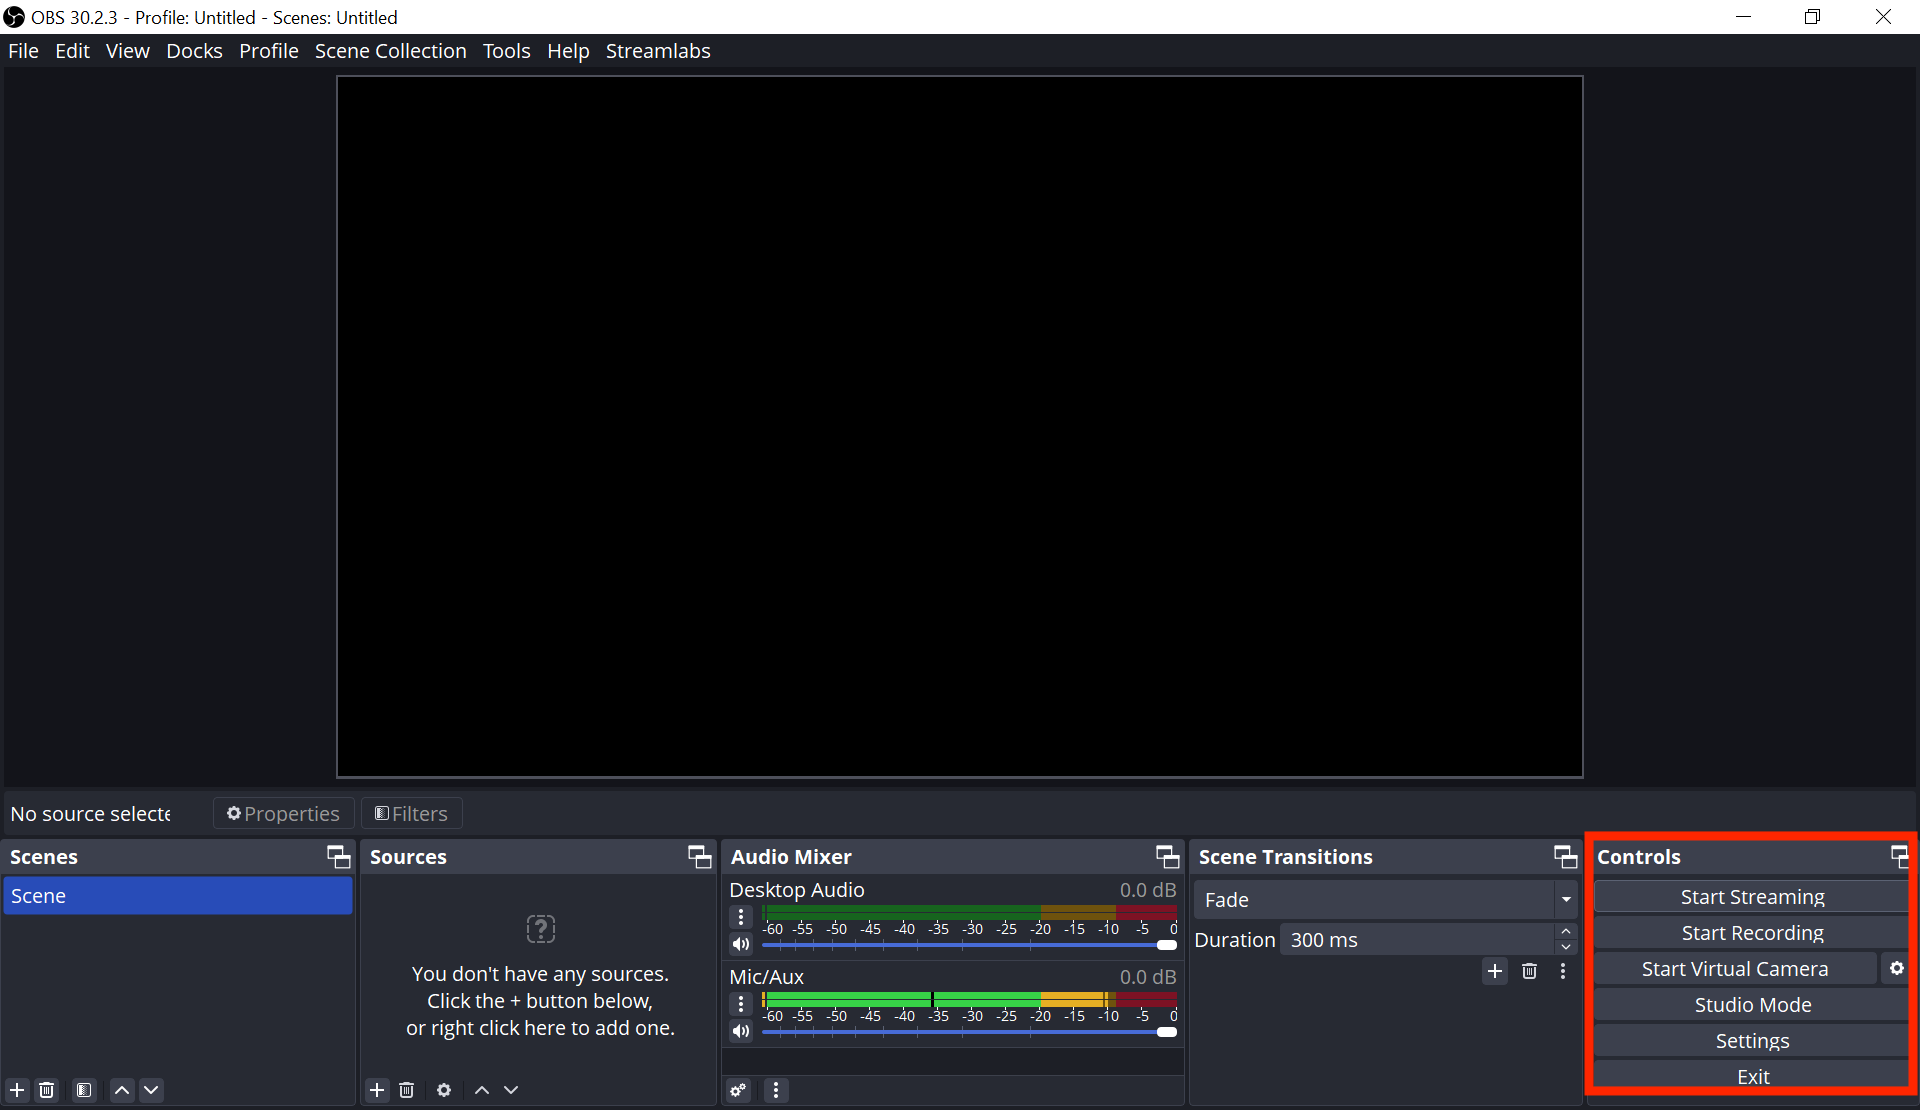
Step 4: Go Live

After setting up your stream, you’re ready to broadcast! Click the Go Live button on Streamlabs Desktop.
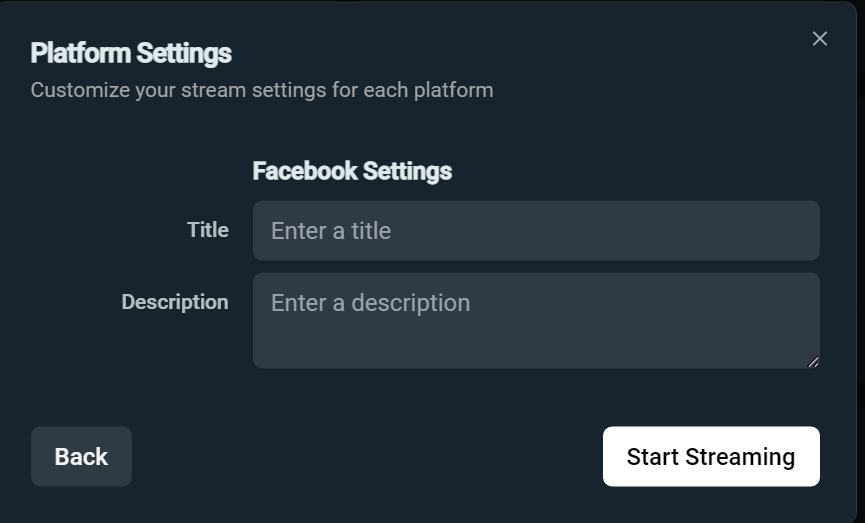
You’ll be prompted to:
- Add a stream title
- Add a description for your live stream
- Choose the Facebook destination and Facebook page
- Confirm your live stream settings are correct
When you’re ready, click Confirm & Go Live, and your stream will begin broadcasting to your Facebook audience.
How to Live Stream on Facebook from OBS with the Streamlabs Plugin
If you're an experienced OBS Studio user, the Streamlabs Plugin for OBS is an excellent option. It seamlessly integrates Streamlabs’ most popular features into OBS, eliminating the need to switch platforms.
This means you can continue using the OBS interface you know and love while enhancing it with powerful Streamlabs tools such as widgets, themes, alerts, and Cloudbot. Below are instructions to help you get started.
Step 1: Install and Set up Streamlabs Plugin for OBS
To get started using the Streamlabs for OBS Plugin, you must first install and set up the plugin on your computer. You can follow the steps in this guide to get started. FYI, this plugin is currently only available for Windows users.
Once you have installed the Streamlabs Plugin, launch OBS Studio on your computer. The first time you launch OBS after downloading the Streamlabs plugin, we will direct you to a sign-in screen—Login & Get Started. If you’re not prompted, select Streamlabs from the top navigation bar of OBS to begin.
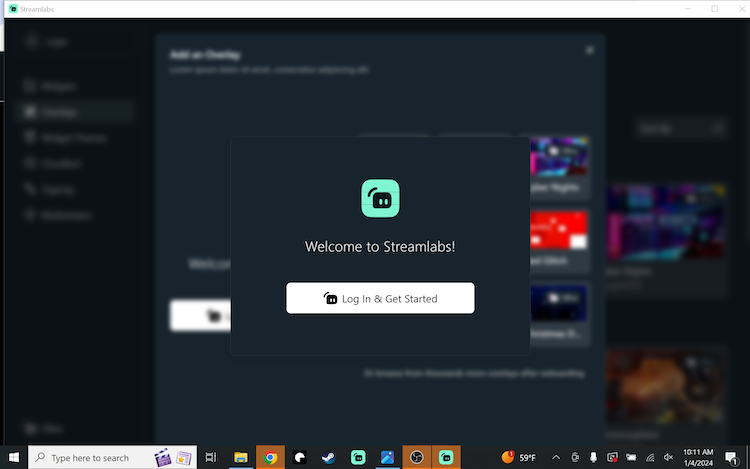
Step 2: Login with Your Streamlabs ID or Facebook Account
Select Log In & Get Started, which will direct you to your browser to log into or create a Streamlabs ID account or connect to your preferred streaming platform. Choose Facebook and follow the instructions until we redirect you to the OBS Studio software.
Step 3: Connecting From Multistream Settings Page
If you already have the Streamlabs Plugin for OBS set up and installed but haven’t yet connected your Facebook account, you do so from the Multistream settings page by selecting Streamlabs from the top navigation bar, Multistream (in the left navigation), then Connect next to the Facebook button. This will redirect you to your browser to log in with your Facebook credentials.

Step 4: Customize Your Live Stream
Similarly to streaming on Facebook from Streamlabs Desktop, you can customize your live stream from the Streamlabs Plugin for OBS by selecting Streamlabs from the top navigation bar. From there, you can control things such as widgets, overlays, tipping, and more.
Step 5: Start Streaming
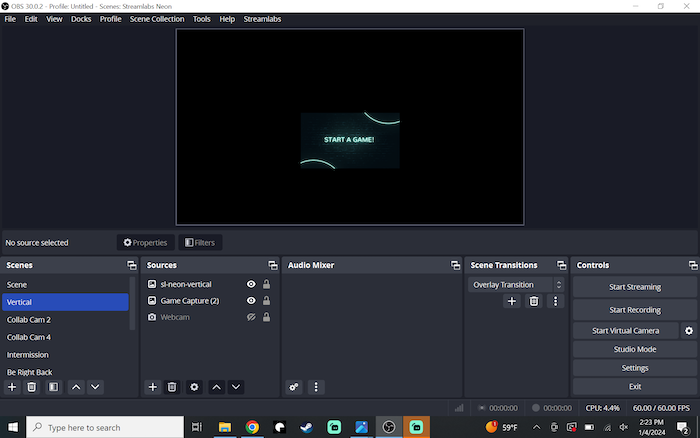
Once your Facebook account is connected and your stream is customized to your liking, hit the Start Streaming button on the main screen of OBS Studio.
When prompted, give your Facebook stream a title and description. Hit Start Streaming once more to begin broadcasting live to your audience.
How to Live Stream to Facebook from a Web Browser with Talk Studio
If you’re looking for a way to live stream on Facebook without downloading software to get started, then Talk Studio is the perfect tool that can get you up and streaming in minutes.
Below are the steps for setting up Talk Studio to live stream on Facebook.
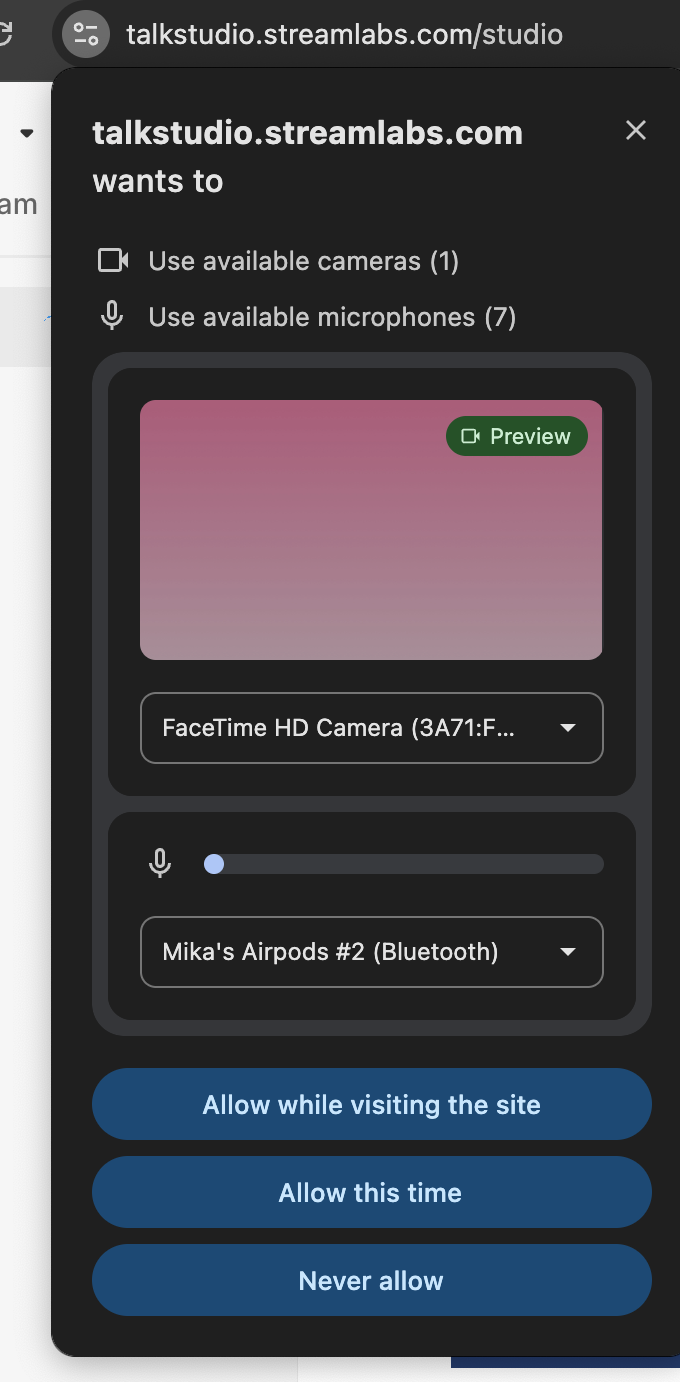
Step 1: Enable Microphone and Camera
When first logging into Talk Studio, your browser will prompt you to allow access to your Microphone and/or Camera. By accepting you will be able to stream on Talk Studio without any immediate technical difficulties.
If you run into any issues, simply reload the site to start over. You can also check your permissions by clicking the icon located on the left next to your browser's address bar.
Step 2: Add Yourself to the Stream
The middle screen shown from your Talk Studio is defined as your blank/main canvas. Whatever you select to Show on Stream will be shown on your Livestream, which includes yourself as well as any guests you have invited to your stream.

Step 3: Connect your Facebook Account
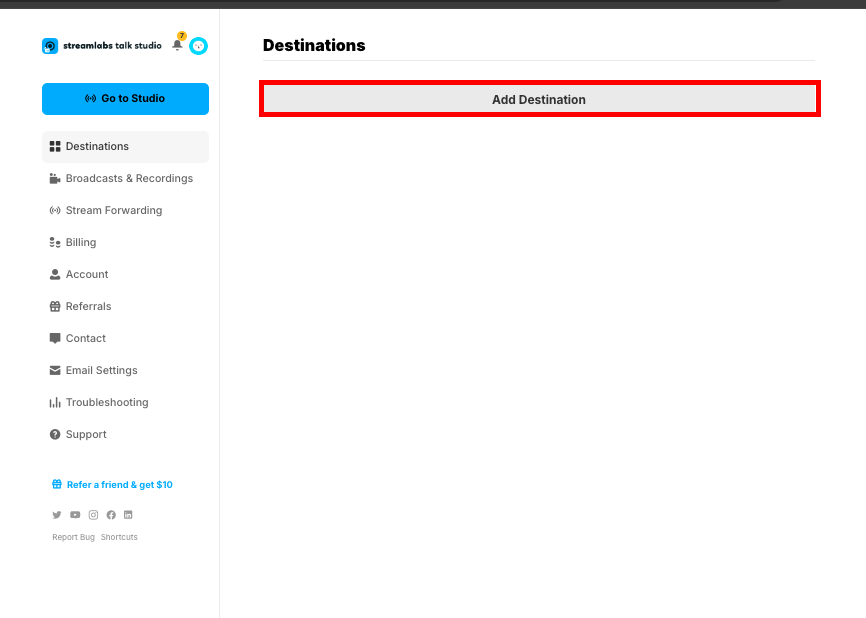
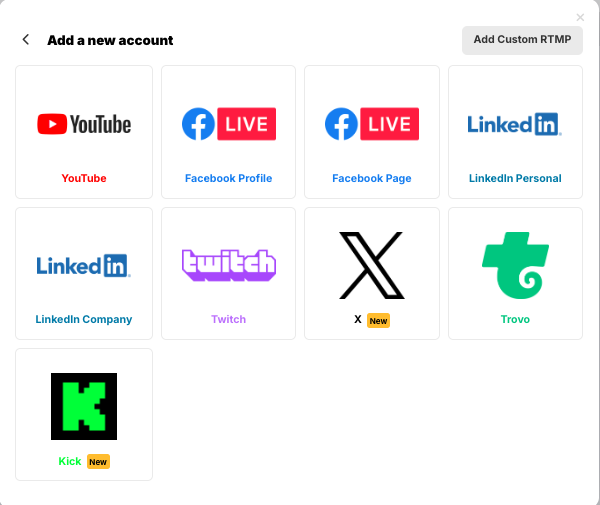
Connect your Facebook Page or Profile by visiting your Destinations page. Here, you'll be able to link all your social sites including your Facebook to Talk Studio so that you can stream directly from your browser at any time.
Facebook has removed the ability to stream directly to groups via third-party applications. You can bypass this limitation using a custom RTMP and stream to a Facebook group. You can find more information on this change implemented by Facebook here.
Step 4: Facebook Permissions
Lastly, we recommend that you check your Facebook Page or Profile Settings page to check that you have Talk Studio as an app your Facebook page/profile can use to stream.
Page/Profile: Please check your Facebook Business Integrations page.
You're all set! Now, whenever you press Go Live and select your Facebook account you'll be able to stream right away! Success!
Why Stream to Facebook?
Facebook offers a massive audience base, seamless social sharing options, and integrated features like live reactions and community engagement. Using Streamlabs Desktop, you can maximize these features while delivering a professional-quality live stream.
Streaming to Facebook with Streamlabs Desktop is straightforward and presents opportunities to grow your audience. By following the steps outlined above, you can create engaging content, connect with your viewers, and build your presence on Facebook.
Have fun streaming and engaging with your Facebook community!